 I have been eyeing this wooden rosary at a fancy home decor store for a few years. I didn’t buy it because they wanted close to $200. So I waited for years hoping it would go on sale but it never did & then it suddenly dawned on me: I could make it myself. I got the wooden beads from a craft store & ordered the cross from Etsy. I used 53 pink beads (for the Hail Marys) & 5 larger white beads (for the Our Fathers). Easy peasy & it only cost me $35 to make it myself. I can’t believe it took me so long to think of it.
PROJECTS
lights in a jar

I found some tiny battery-powered lights this Christmas; I put them in a decorative jar & I think they look magical.
easter nest

easter wreath

fairies in a jar
 This is a beautiful yet inexpensive way to light up a backyard in the summer that kids will love. Use any glass jar & I bought my glowsticks at the dollar store. Add some glitter to the jar. I used a combo of clear & silver glitter in mine. Snap the glowstick & shake it to activate. Once glowing, cut off the end of the stick & pour the liquid into the jar. Place the lid on the jar & shake until the liquid & glitter spread all over the jar. It should glow for a few hours.
WARNING: I am not sure how toxic the liquid is so please wear gloves while making this project. Also, please don’t use the jar for food again after its been used for this project. Just save it to re-use the next time you want to make another fairy light.
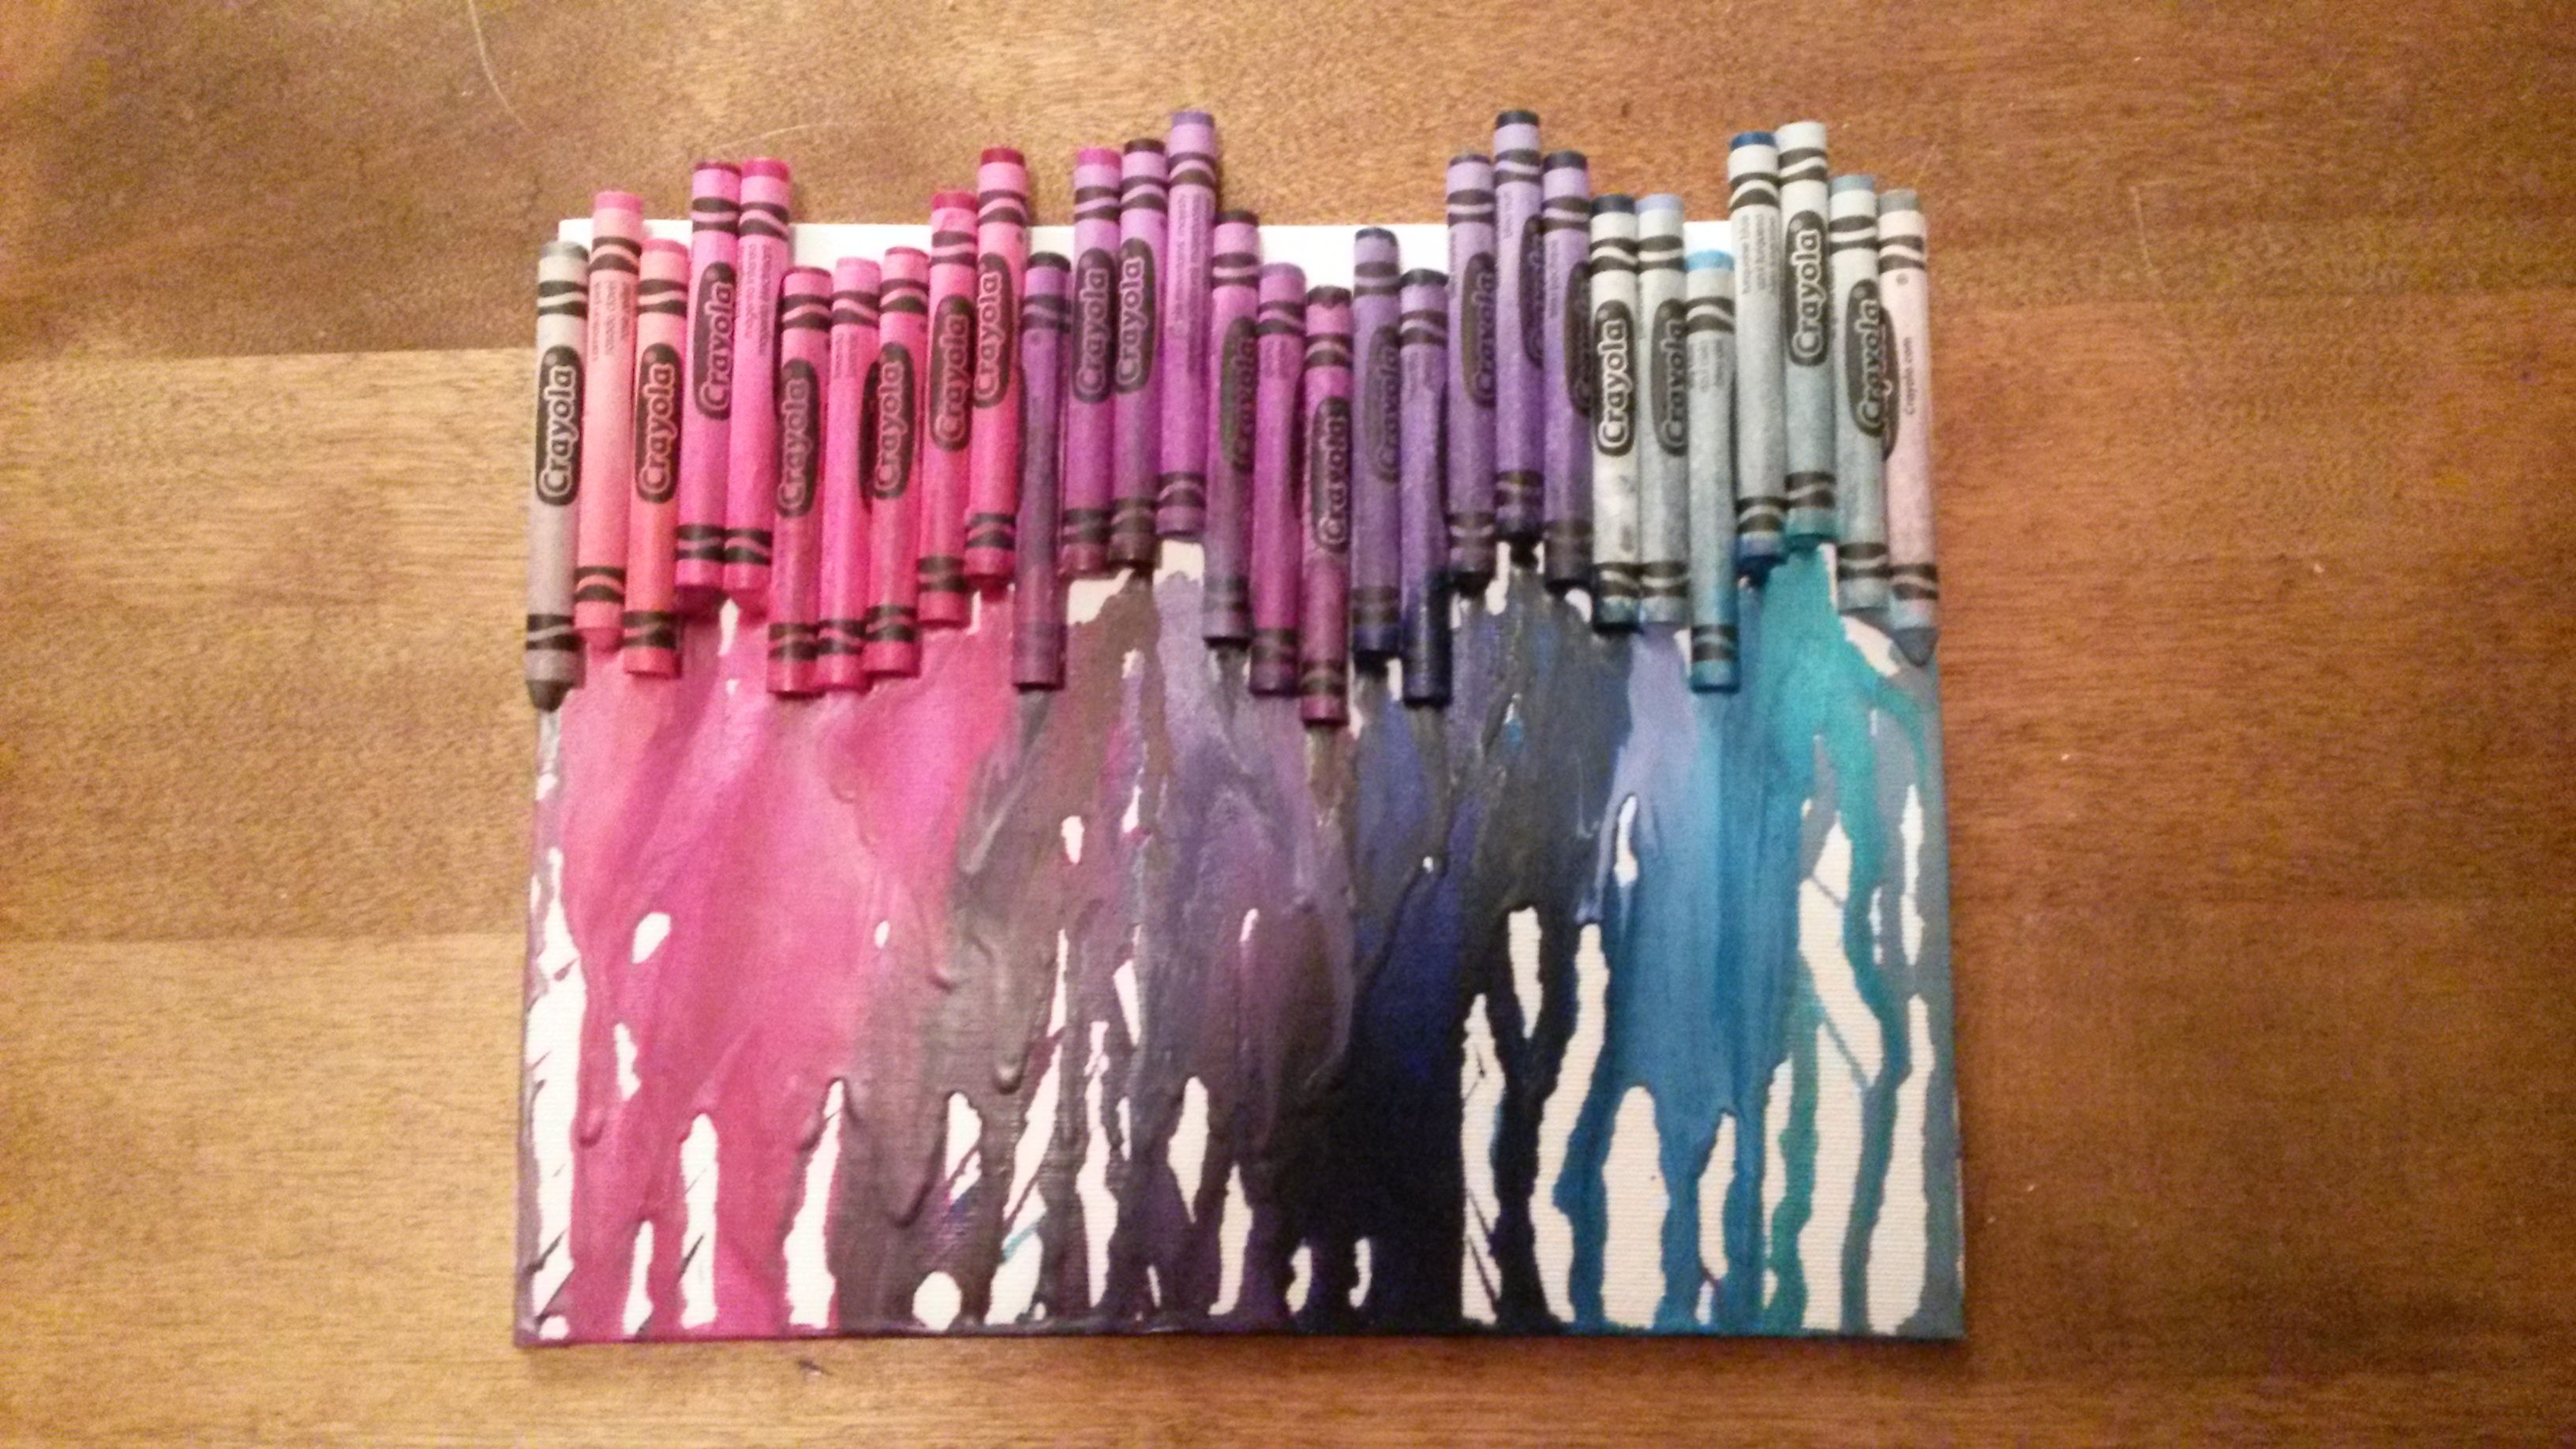
melted crayon art
Here is a fun one to do with kids:
1. Glue crayons to a sturdy art board.
2. Use a hair dryer to melt the crayons.
 MY TIPS:
- Use Crayola crayons. I tried a generic brand & the colours never ran.
- I used regular school glue to attach the crayons because I was worried that if I used a glue gun it might melt from the heat of the hair dryer.
- Fair warning: Use newspaper or an old sheet to protect not only the surface underneath where you are working on but also the area behind the artwork because the wax tends to blow around a bit.
- Be patient. It takes a while for the crayons to start melting but once they do, the magic happens quickly.
- The closer you hold the dryer to the drips, the more the colours will blend into each other creating a pretty effect.
BONUS TIP:
Uh-oh…How do I get wax out of my carpet?
I found this remedy on the internet & it worked like a charm.
Place a brown paper grocery bag over the spill with the printed side facing up so that the printing won’t transfer to your rug. The paper acts as a blotter & will soak up the wax. Use an iron on the lowest setting so you don’t burn your rug. Iron the paper until it has soaked up all the wax.
mobile

This is the mobile I made using clear & silver xmas balls & fishing wire.
I love it so much that I leave up all year round.
xmas wreath
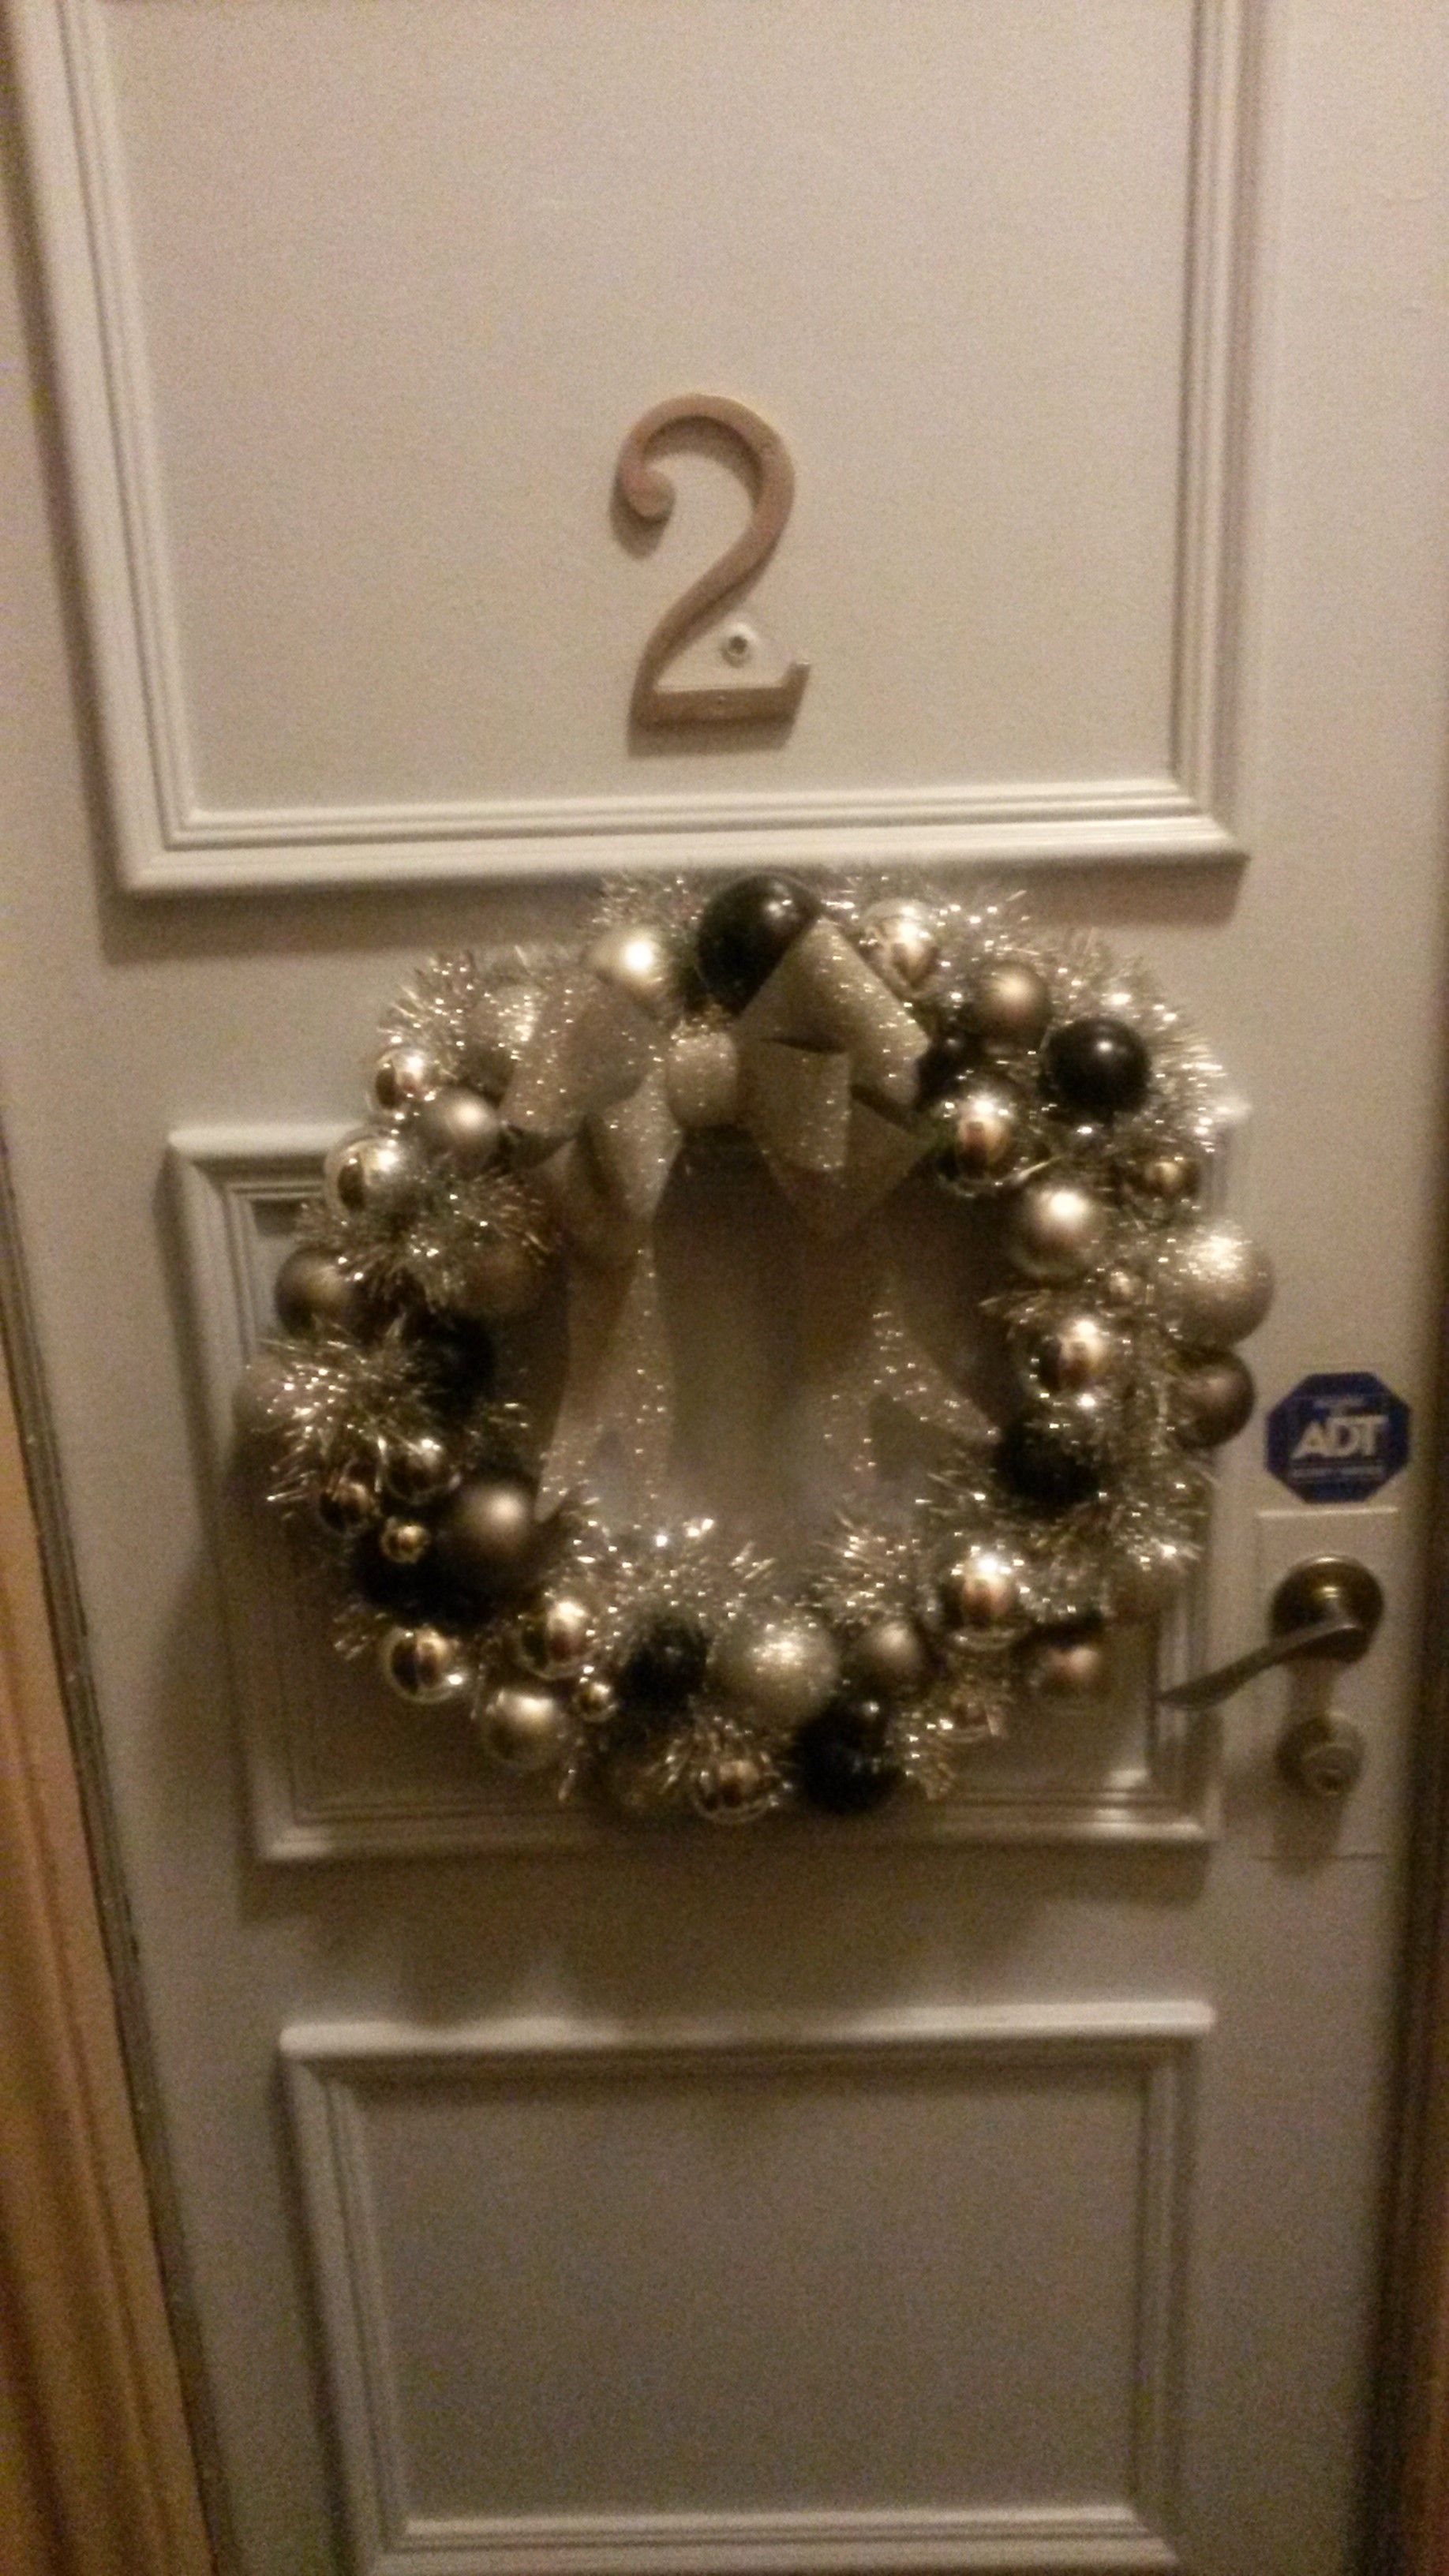
This wreath took some time to create, but I think the result was worth it. Start with a wire wreath & then glue xmas balls of different sizes, textures & colours. Use colours to match your own decor. I used a silver tinsel garland to fill in the gaps. The bow was a dollar store find.
snowy nutcracker

I love toy soldier nutcrackers but couldn’t find any that were “just right” so I bought a cheap one & spray painted it with white primer. Then I sprayed it with adhesive & sprinkled clear glitter on it. It came out better than I could have imagined. I think it looks like snow & it catches the light beautifully.
MY TIP: For best results be sure to use a nutcracker without any hair or fabric.
using baby blocks as decor

scrabble as decor

lighted wreath
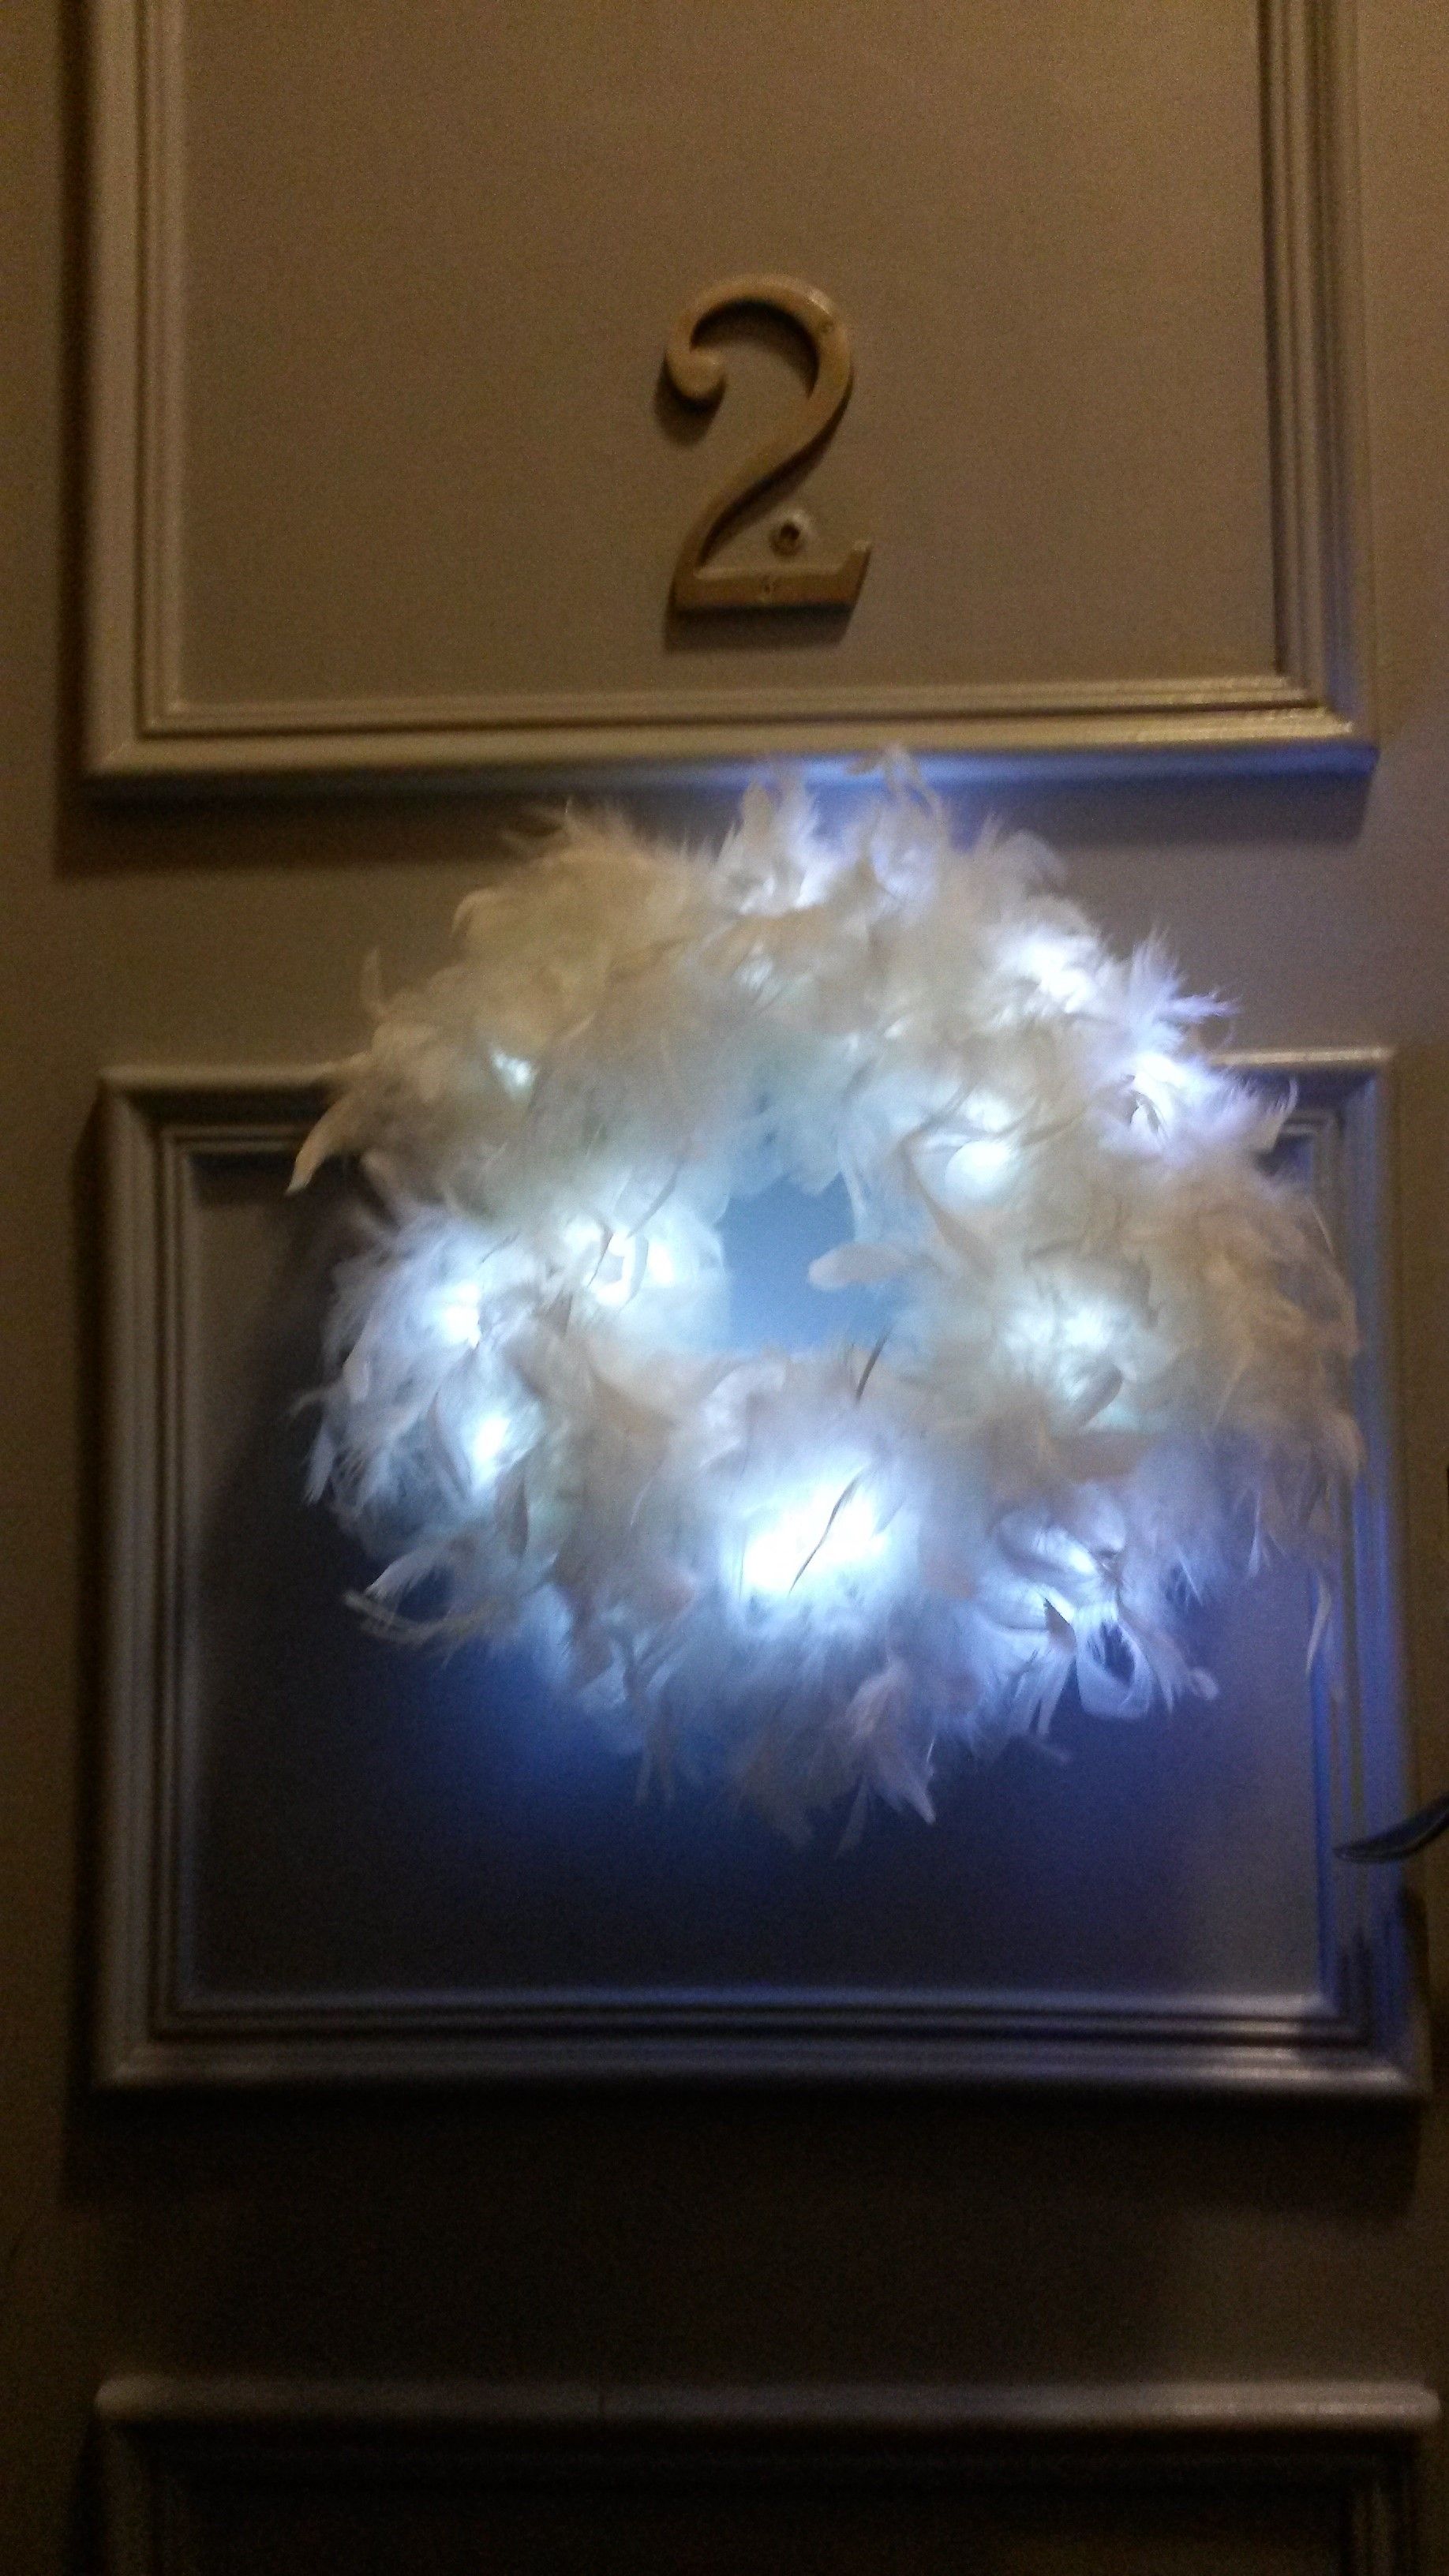
This is similar to the feather wreath I made earlier, but this time I used a wire wreath. First I strung the wreath with white string lights so that they would glow through the feathers. Then I wrapped it with white feather boas. This is the perfect wreath to hang in a window because it looks pretty from both sides. Be sure to use battery operated lights so you don’t have to worry about cords or plugs.
victorian skull

I’m not really a skulls kinda gal, but add a fascinator & now you have my full attention. I found a glitter skull in a dollar store, and then I glued the hat on top. Plus, anything looks classy under a cloche, n’est pas?
happy jack


crow wings

feather boa wreath
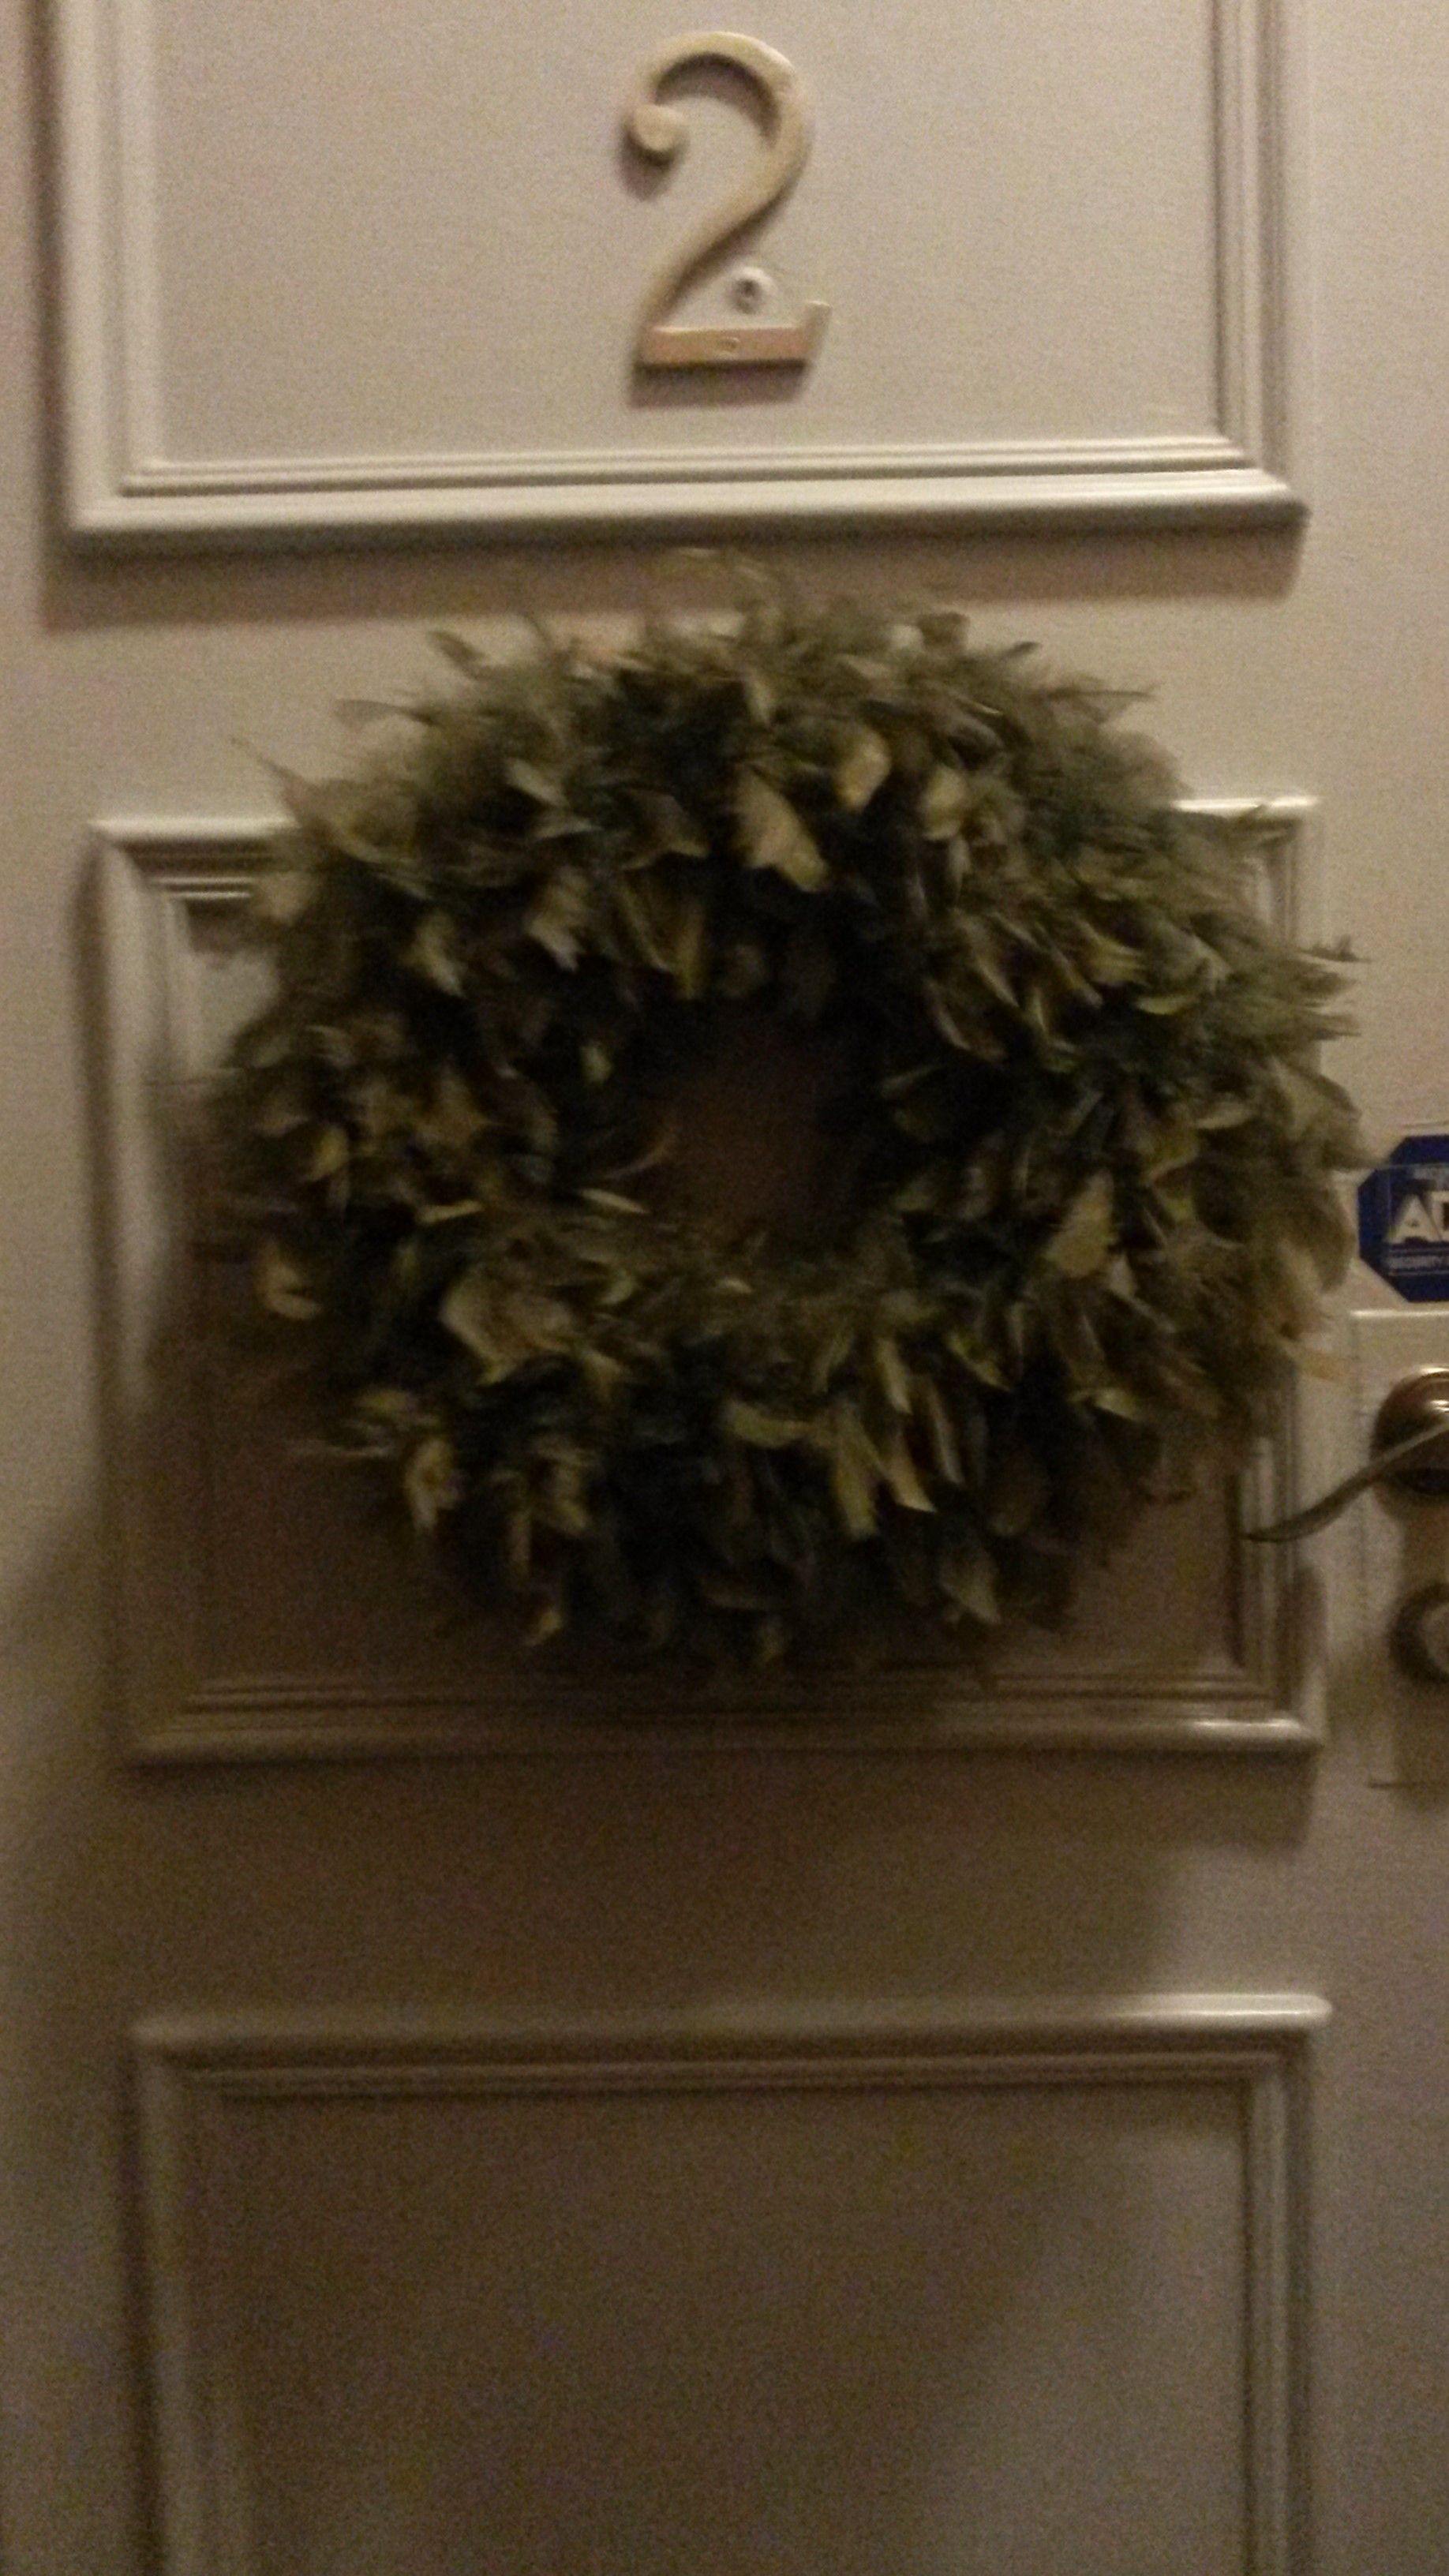
Start with a foam wreath & wrap feather boas around it in the colour of your choice. The more boas you use, the fluffier it will be.
upgrade a boring door
Before + After
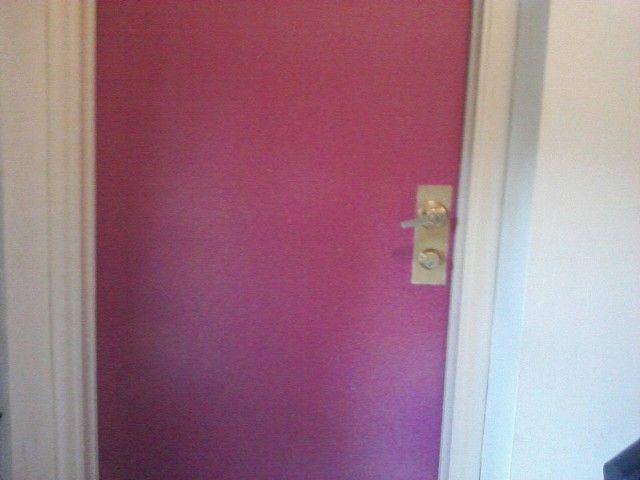
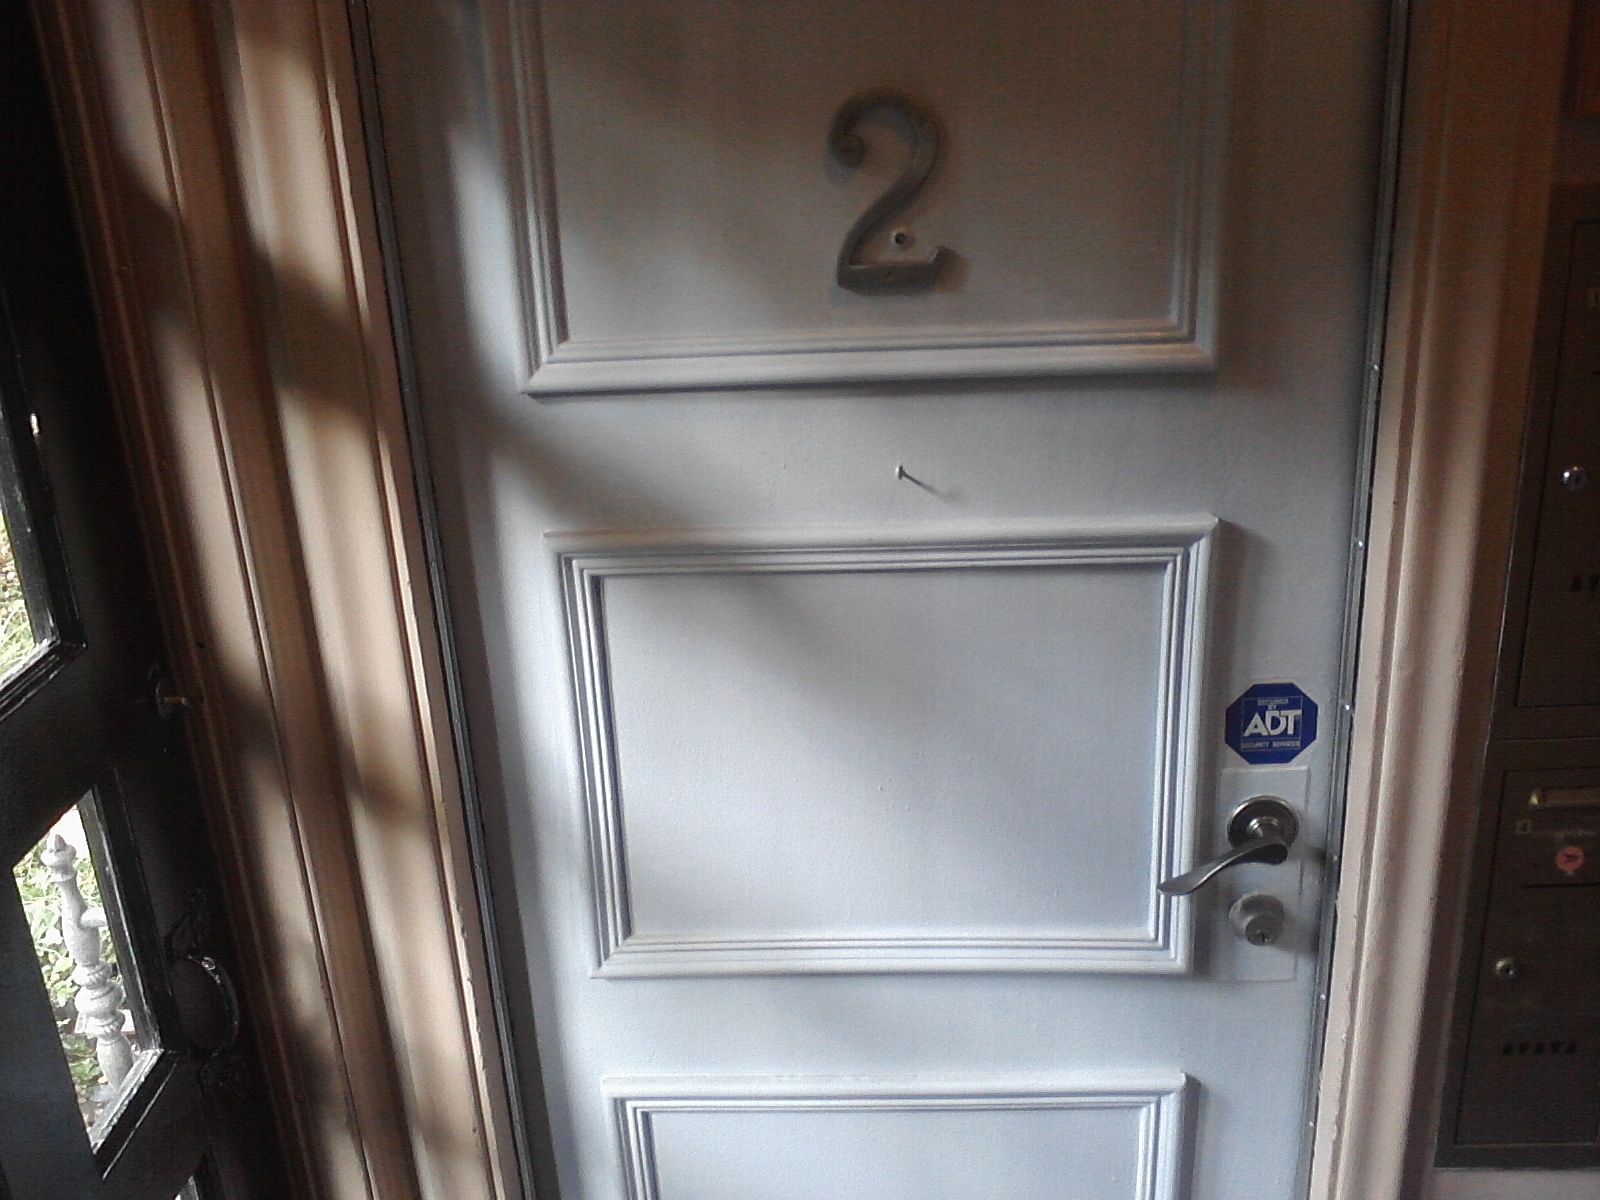 This is an easy project. If you are handy, you can custom make the mouldings yourself, or if you don’t have a saw/mitre box you can choose the easy route (like I did) & buy them ready-made from a hardware store. They have different sizes to choose from. I chose 3 rectangles & I used a product call “No Nails” to adhere them to the door & then painted. I also changed the hardware on the door. Ta-da!!!
 UPDATE: I needed a quick pick-me-up so decided to paint my door again. The initial inspiration to change my door the first time was because of the obnoxious hot pink colour that I inherited when I moved in; so I switched to a calming pale blue. Now I’ve gone back to pink, but a much softer shade which doesn’t hurt the eyes. Its such a big bang for your buck & it doesn’t take long at all to paint such a small area so I highly recommend this to people craving a change. It makes me happy everytime I come home.
